Windows comes with several maintenance tools. They work silently in the background, ensuring the proper functioning of the system. Deployment Image Servicing and Management (DISM) is one such utility. It was initially created to help system administrators deploy Windows images. However, DISM has proved to be so useful and versatile that ordinary users started using it to troubleshoot their computers.
Anyone who has dealt with system file corruption, Windows update errors, or other OS issues has surely come across recommendations to use DISM commands. Most tutorials only list the commands, giving little information about their purpose, context, or results. This article aims to explain what each DISM command means rather than list them. It also describes when specific commands are used, what mistakes are commonly made, and how professional technicians use DISM to troubleshoot Windows OS problems.
Why DISM Commands Matter
Modern Windows uses a component store where it keeps system files that can repair, update, or install different operating system features. Learning about the Windows component store helps explain why DISM is able to repair damaged system components. However, if the component store gets corrupted somehow, the system may stop functioning correctly.
DISM was created to scan and repair the component store.
It allows repairing Windows images and extracting required resources from healthy volumes. After DISM fixes the component store, other repair tools, such as System File Checker, can replace the broken system files. That is why DISM is often the first utility that Microsoft support asks users to use when encountering system errors.
Understanding What DISM Actually Does
The long name of DISM, Deployment Image Servicing and Management, suggests that it was initially intended for servicing Windows images during the installation process.
This tool now has two main functions:
1. The ability to repair the currently installed Windows OS;
2. The possibility of servicing offline Windows images.
The first function is what most PC owners and ordinary users are interested in. DISM analyzes the Windows component store and identifies missing or corrupted components, which it then attempts to repair by replacing them with healthy versions from Microsoft’s servers or another repair source. The component store is, in fact, Windows’ repository of internal components, so if it is damaged, problems will occur while trying to repair Windows in the future.
When Should You Use DISM Commands?
DISM isn’t something you should run every week as routine maintenance.
Instead, it’s most useful when Windows begins showing symptoms such as:
| Problem | Can DISM Help? |
| Windows Update repeatedly fails | Yes |
| System file corruption | Yes |
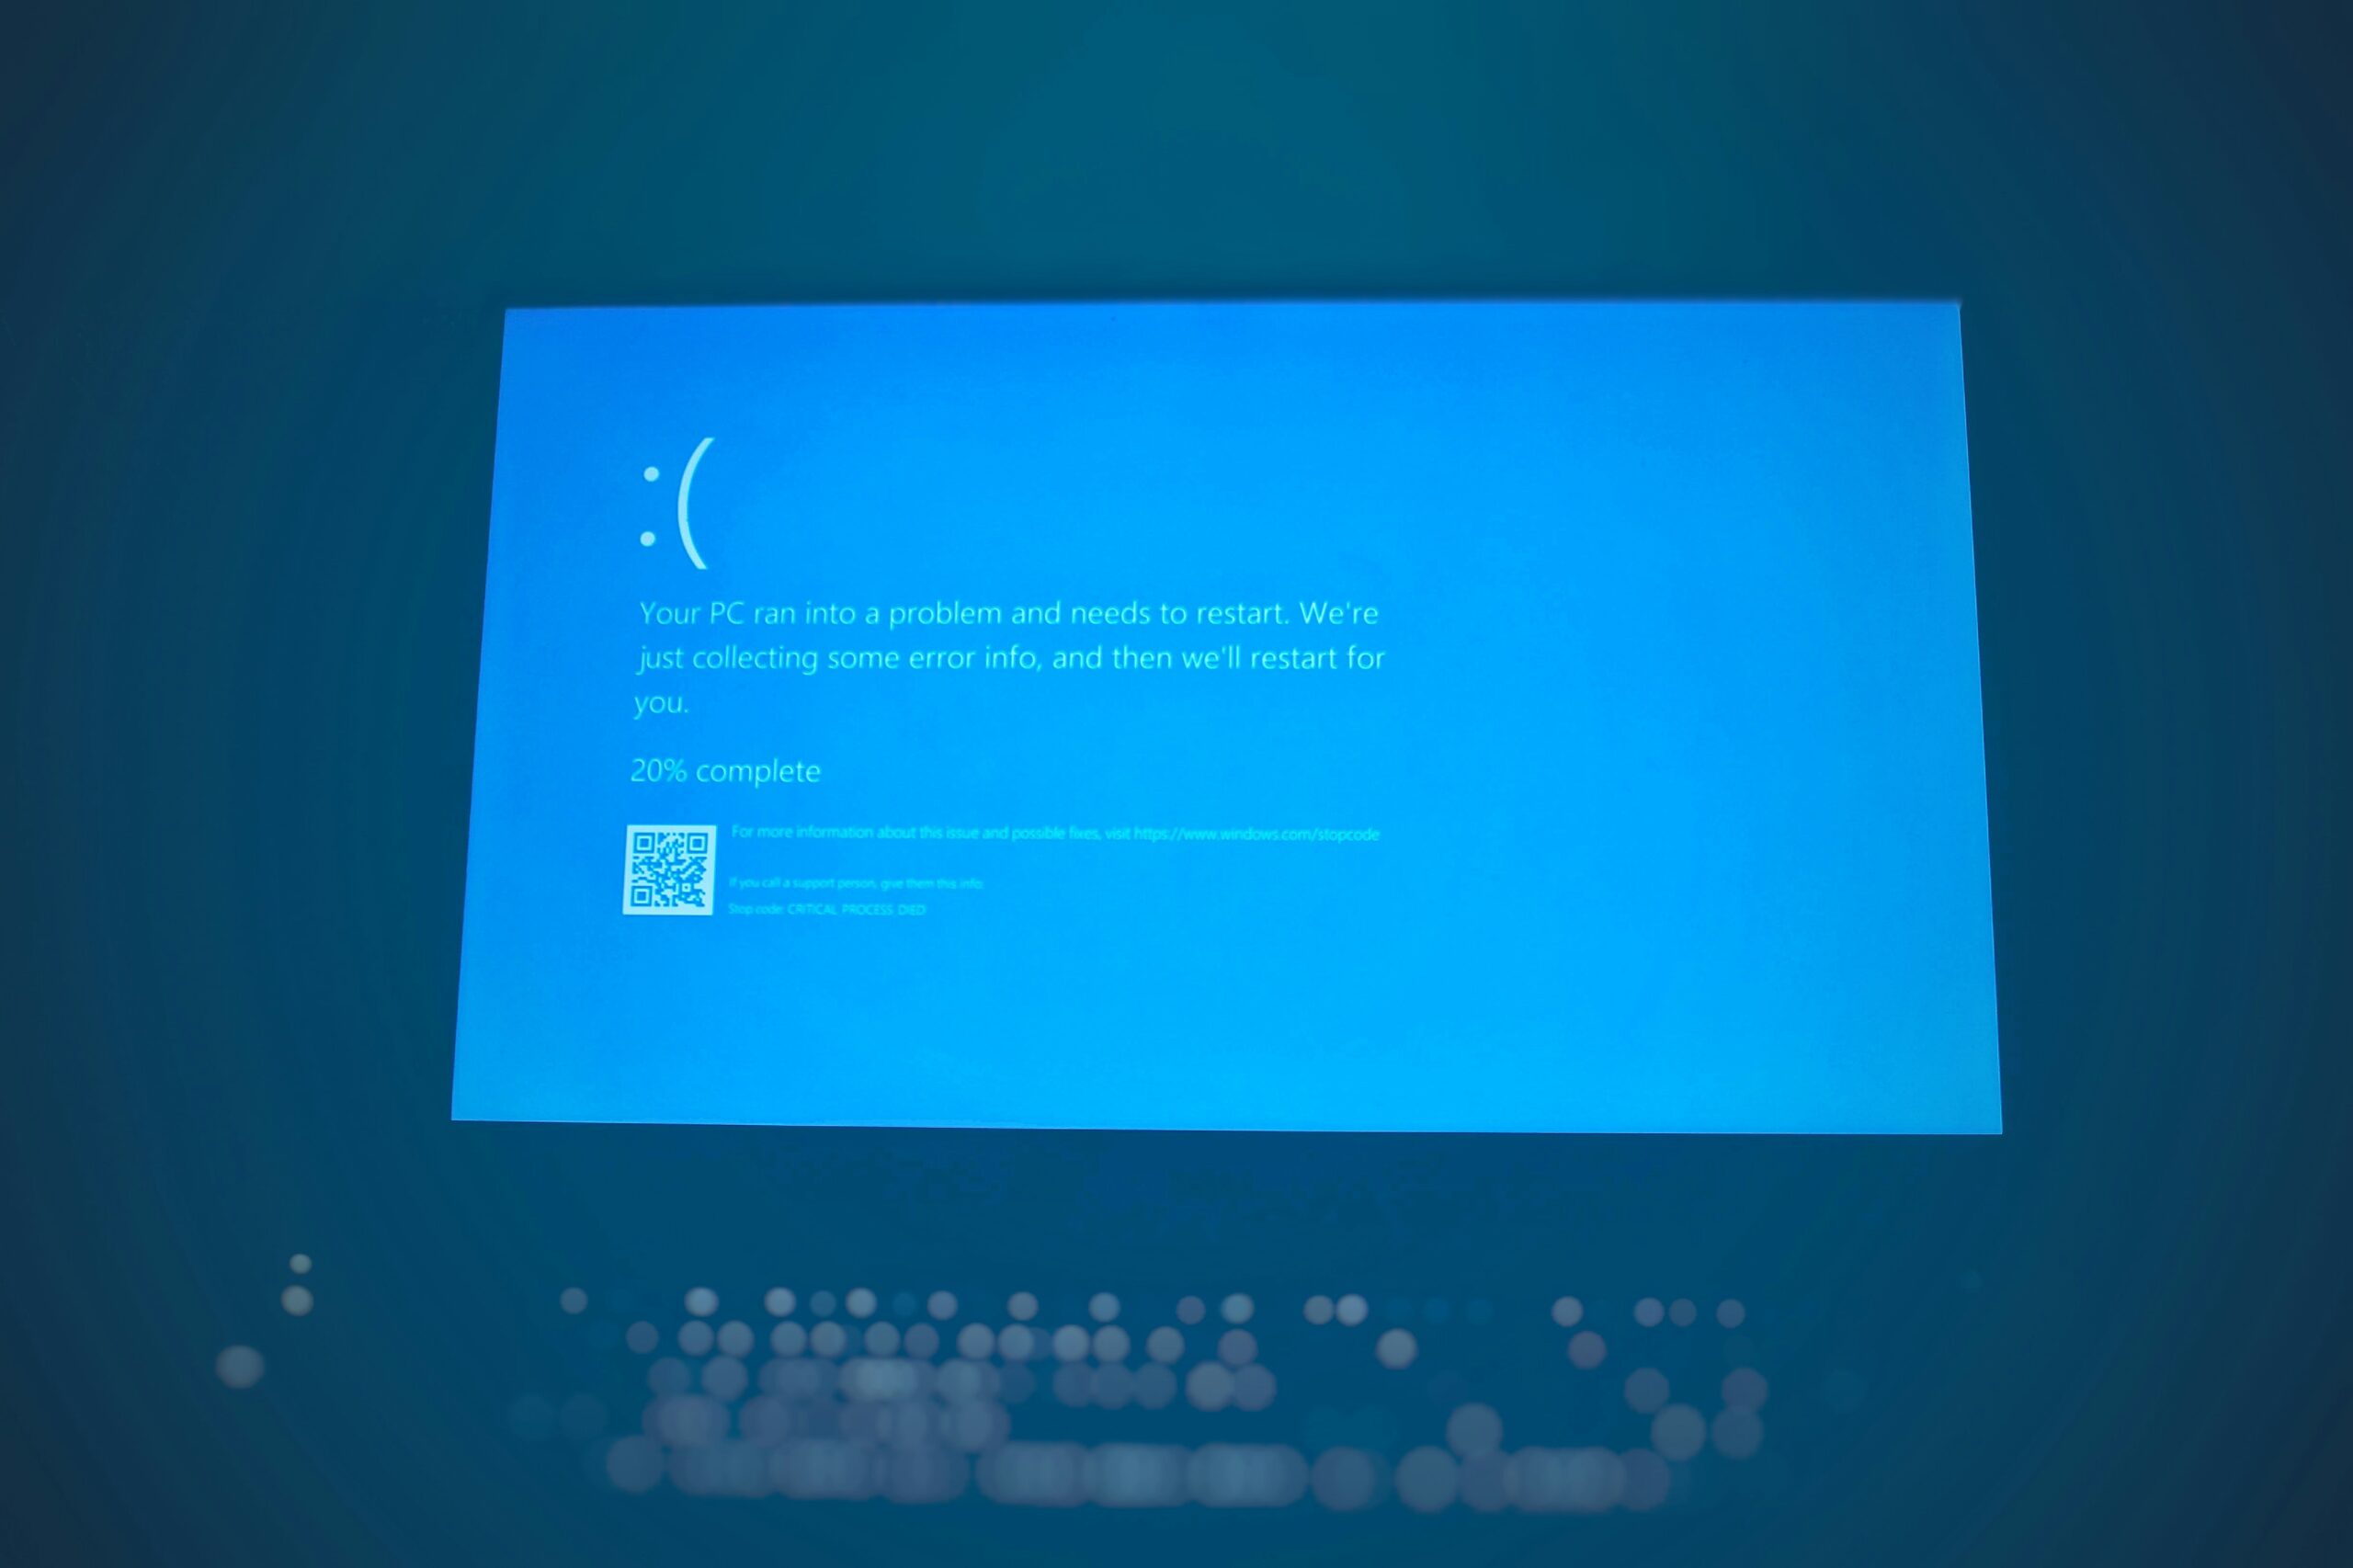
| Blue screen caused by damaged system files | Sometimes |
| SFC cannot repair files | Yes |
| Missing Windows components | Yes |
| Hardware failures | No |
| Malware infections | No |
DISM repairs Windows itself—it cannot fix faulty RAM, bad storage drives, or virus infections.
The Most Useful DISM Commands Explained
Many online articles overwhelm readers with dozens of switches and parameters. In reality, only a handful of commands solve the majority of Windows repair problems.
Check Whether Corruption Exists
- DISM /Online /Cleanup-Image /CheckHealth
- This command performs a quick inspection.
- It doesn’t scan every file. Instead, it checks whether Windows has already detected corruption previously.
- It usually finishes within seconds.
- Use this command when you simply want to know if Windows has recorded image corruption.
Perform a Deeper Scan
- DISM /Online /Cleanup-Image /ScanHealth
- Unlike CheckHealth, this command thoroughly scans the Windows image.
- It examines the component store for corruption but doesn’t attempt any repairs.
- Depending on system performance, the scan may take several minutes.
- This command is ideal before deciding whether repairs are actually necessary.
Repair the Windows Image
DISM /Online /Cleanup-Image /RestoreHealth
This is the command most users actually need.
RestoreHealth scans the Windows image, identifies corruption, downloads healthy replacement files when needed, and repairs the component store.
If Windows Update is working normally, this command usually completes automatically without additional input.
This command often resolves problems involving:
- Failed cumulative updates
- Broken Windows features
- Persistent system corruption
- Damaged servicing components
What Happens During RestoreHealth?
Many users become concerned when the progress appears stuck at 20%, 40%, or 62%.
This behavior is completely normal.
DISM performs multiple verification stages internally, and progress isn’t always displayed smoothly.
Depending on:
- Internet connection
- Drive speed
- CPU performance
- Amount of corruption
the repair process can take anywhere from five minutes to over an hour.
Interrupting the process unnecessarily can cause additional problems.
Running DISM with a Local Repair Source
Sometimes Windows Update cannot provide replacement files.
In that situation, DISM can use a Windows installation ISO instead.
Example:
DISM /Online /Cleanup-Image /RestoreHealth /Source:D:\Sources\install.wim /LimitAccess
Here:
- Source specifies where replacement files are located.
- LimitAccess prevents DISM from contacting Windows Update.
This approach is especially useful for computers without internet access or enterprise environments with restricted update services.
The Correct Order: DISM and SFC
One of the most common misconceptions is running SFC before DISM. Understanding System File Checker (SFC) explained also makes it easier to see why technicians recommend repairing the Windows image first.
Professionals usually recommend the opposite.
The recommended workflow is:
- Run CheckHealth or ScanHealth.
- Execute RestoreHealth if corruption exists.
- Run:
sfc /scannow
Why?
SFC repairs system files using copies stored inside the Windows component store.
If that component store is already damaged, SFC cannot retrieve healthy files.
DISM repairs the source first.
SFC then repairs Windows itself.
This two-step approach solves far more issues than using either utility alone.
Practical Repair Workflow
Imagine a Windows computer that suddenly begins failing updates while displaying strange error messages.
A practical repair session would look like this:
DISM /Online /Cleanup-Image /CheckHealth
↓
DISM /Online /Cleanup-Image /ScanHealth
↓
DISM /Online /Cleanup-Image /RestoreHealth
↓
sfc /scannow
↓
Restart the computer.
This simple sequence resolves many common Windows servicing issues without reinstalling the operating system.
Common DISM Errors and Their Solutions
Although DISM is reliable, certain errors appear frequently.
| Error | Meaning | Possible Solution |
| Error 87 | Incorrect syntax | Check command spelling and spacing |
| Error 50 | Unsupported environment | Ensure Windows supports the command |
| Error 2 | Source file missing | Verify installation media path |
| Error 5 | Access denied | Run Command Prompt as Administrator |
| Error 0x800f081f | Source files unavailable | Specify a Windows ISO source |
| Error 0x800f0906 | Download failure | Check internet connection or use local media |
Understanding these errors is often easier than repeatedly copying commands from forums without knowing what they mean.
Professional Insights on Using DISM
System administrators typically don’t wait until Windows becomes unusable.
Instead, DISM is incorporated into broader maintenance strategies.
Common enterprise practices include:
- Repairing images before deploying them across hundreds of computers
- Validating Windows installation images before updates
- Troubleshooting update failures
- Restoring servicing components after interrupted upgrades
In corporate environments, DISM helps reduce downtime because repairing the operating system is often much faster than reinstalling Windows.
Common Mistakes Users Make
Many unsuccessful repair attempts happen because of small mistakes rather than serious corruption.
Some of the most frequent include:
Running Commands Without Administrator Rights
DISM requires elevated permissions.
Always launch Command Prompt or PowerShell using Run as administrator.
Closing the Window Too Early
DISM may appear frozen.
Patience is important.
Large repairs often continue running even when the progress percentage remains unchanged for several minutes.
Ignoring Internet Connectivity
RestoreHealth often downloads replacement files from Windows Update.
A poor internet connection can interrupt the repair.
Using the Wrong Windows ISO
When specifying a repair source, the Windows installation media should closely match the installed Windows version and edition.
Different builds may not provide compatible repair files.
Offline Image Servicing
Although most users repair their current installation, DISM can also service offline Windows images.
For example:
DISM /Image:C:\OfflineWindows /Cleanup-Image /RestoreHealth
This allows administrators to repair Windows installations that cannot boot normally.
It is also widely used during operating system deployment and recovery scenarios.
Unless you’re managing multiple systems, you’ll rarely need this feature.
Practical Example
Consider a laptop that suddenly refuses to install monthly Windows security updates.
Windows Update repeatedly returns an error, while SFC reports that it cannot repair some files.
The repair process might proceed as follows:
- Run ScanHealth.
- Corruption is detected.
- Execute RestoreHealth.
- Windows downloads replacement servicing files.
- Restart the computer.
- Run SFC.
- Retry Windows Update.
In many cases, updates install successfully after this process because the underlying servicing components have been repaired.
How Long Do DISM Commands Take?
Completion times vary depending on system health and hardware.
| Command | Typical Time |
| CheckHealth | Under one minute |
| ScanHealth | 5–15 minutes |
| RestoreHealth | 10–45 minutes |
| RestoreHealth with severe corruption | Up to one hour or more |
Solid-state drives generally complete scans much faster than traditional hard drives.
Troubleshooting When DISM Doesn’t Work
Occasionally, RestoreHealth cannot complete successfully.
If that happens, try these steps:
- Restart the computer and run the command again.
- Verify your internet connection.
- Use a Windows ISO as the repair source.
- Install pending Windows updates if possible.
- Check available disk space.
- Review the DISM log file for detailed information.
- Boot into Safe Mode if normal Windows startup is unstable.
If corruption remains unresolved after multiple attempts, an in-place Windows repair installation may be necessary.
Best Practices for Safe Repairs
Experienced technicians follow several habits that reduce the likelihood of repair failures.
First, create a restore point or backup before making major system changes.
Second, avoid interrupting DISM once it begins running.
Third, always use an elevated Command Prompt.
Finally, remember that DISM is a repair tool—not a performance optimization utility. Running it unnecessarily offers little benefit on a healthy system.
Frequently Asked Questions
Are DISM commands safe?
Yes. DISM is a built-in Microsoft utility designed specifically for servicing and repairing Windows images. When used correctly, it is considered safe.
Do I need internet access?
Usually yes, because RestoreHealth downloads replacement files from Windows Update. However, you can also provide a local Windows installation source.
Should I run DISM before SFC?
Yes. If Windows image corruption exists, repairing it first allows SFC to replace damaged system files successfully.
Can DISM fix Blue Screen errors?
Sometimes. If the blue screen is caused by corrupted Windows components, DISM may resolve the issue. It cannot repair hardware-related failures.
Does DISM work on Windows 10 and Windows 11?
Yes. The core commands remain largely the same across modern versions of Windows.
Will DISM delete my personal files?
No. DISM repairs Windows system components without affecting personal documents, applications, or user data.
Conclusion
DISM is one of the maintenance utilities incorporated in Windows which most users rarely get to know before trying to tackle update errors and various system malfunctions. The better knowledge of what DISM commands actually do is essential to addressing such issues properly.
Instead of getting confused by all the options and switches available in DISM commands, one should learn the typical order of operations to resolve common Windows issues. First of all, it is necessary to check the image, scan it for errors, and attempt to repair and restore it. In addition, one should run the System File Checker utility to check and replace the corrupted system files.
All of these steps enable a user to handle a wide range of issues experienced in Windows, including critical errors occurring during OS updates. Notably, this approach is applicable to any computer running Windows whether it is a personal PC or a central server in a company. Therefore, it is essential to be familiar with the standard DISM commands allowing a user to address the typical Windows malfunctions without actually updating the entire system. Explore our Windows repair guides and troubleshooting tutorials for more practical solutions to common Windows errors, system maintenance, and performance issues.